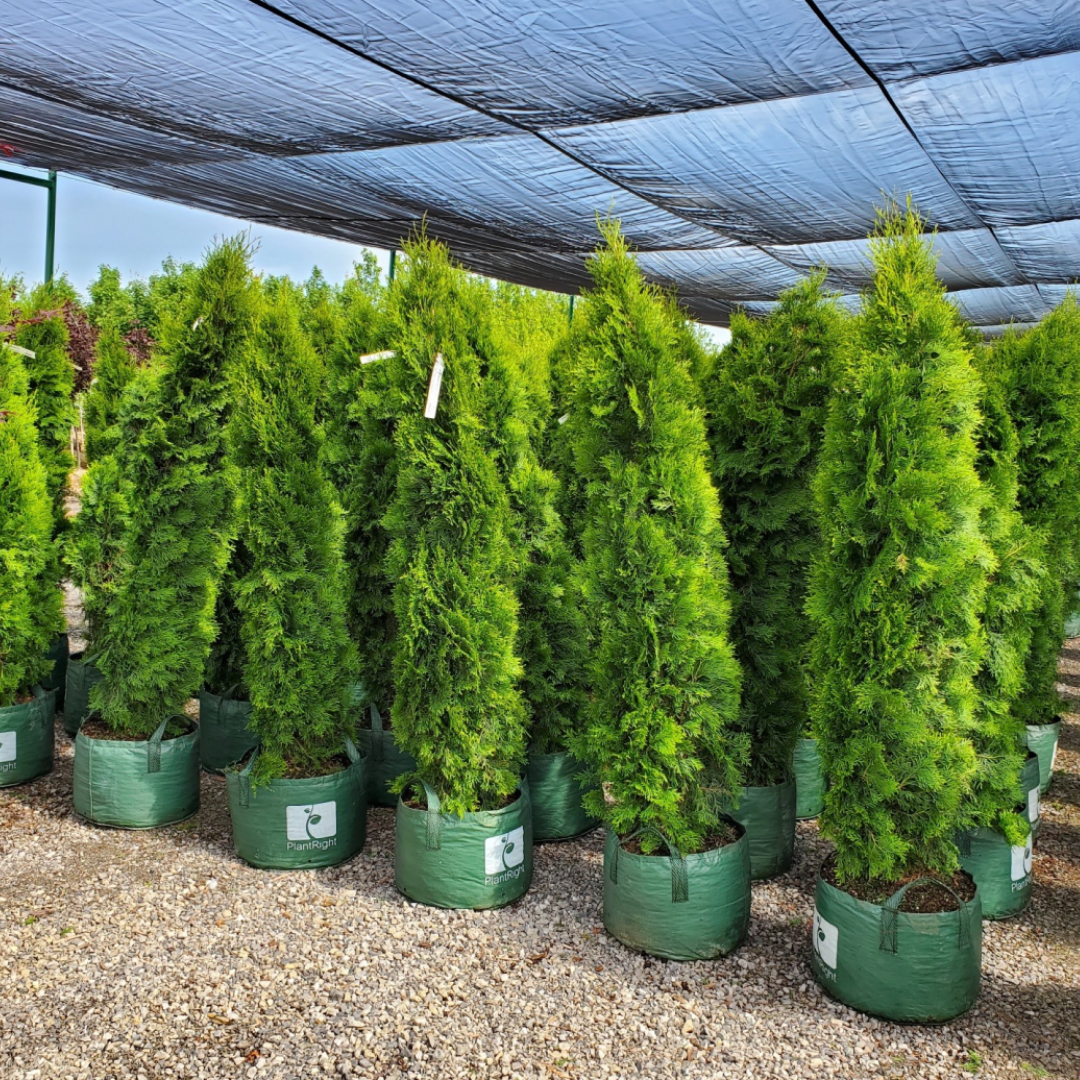
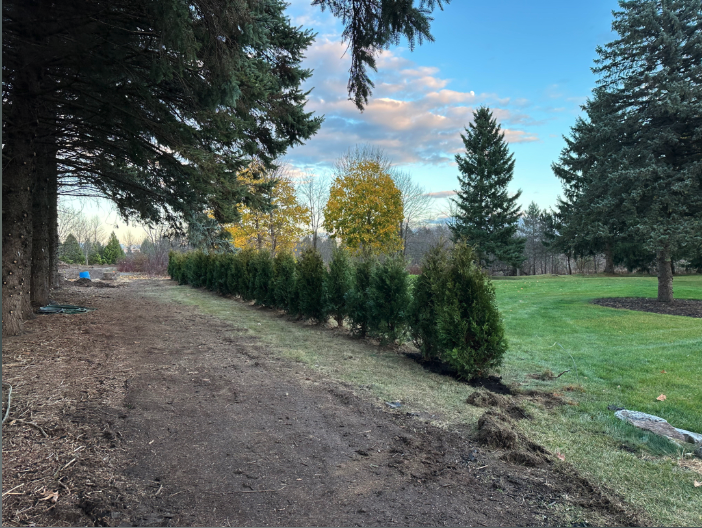
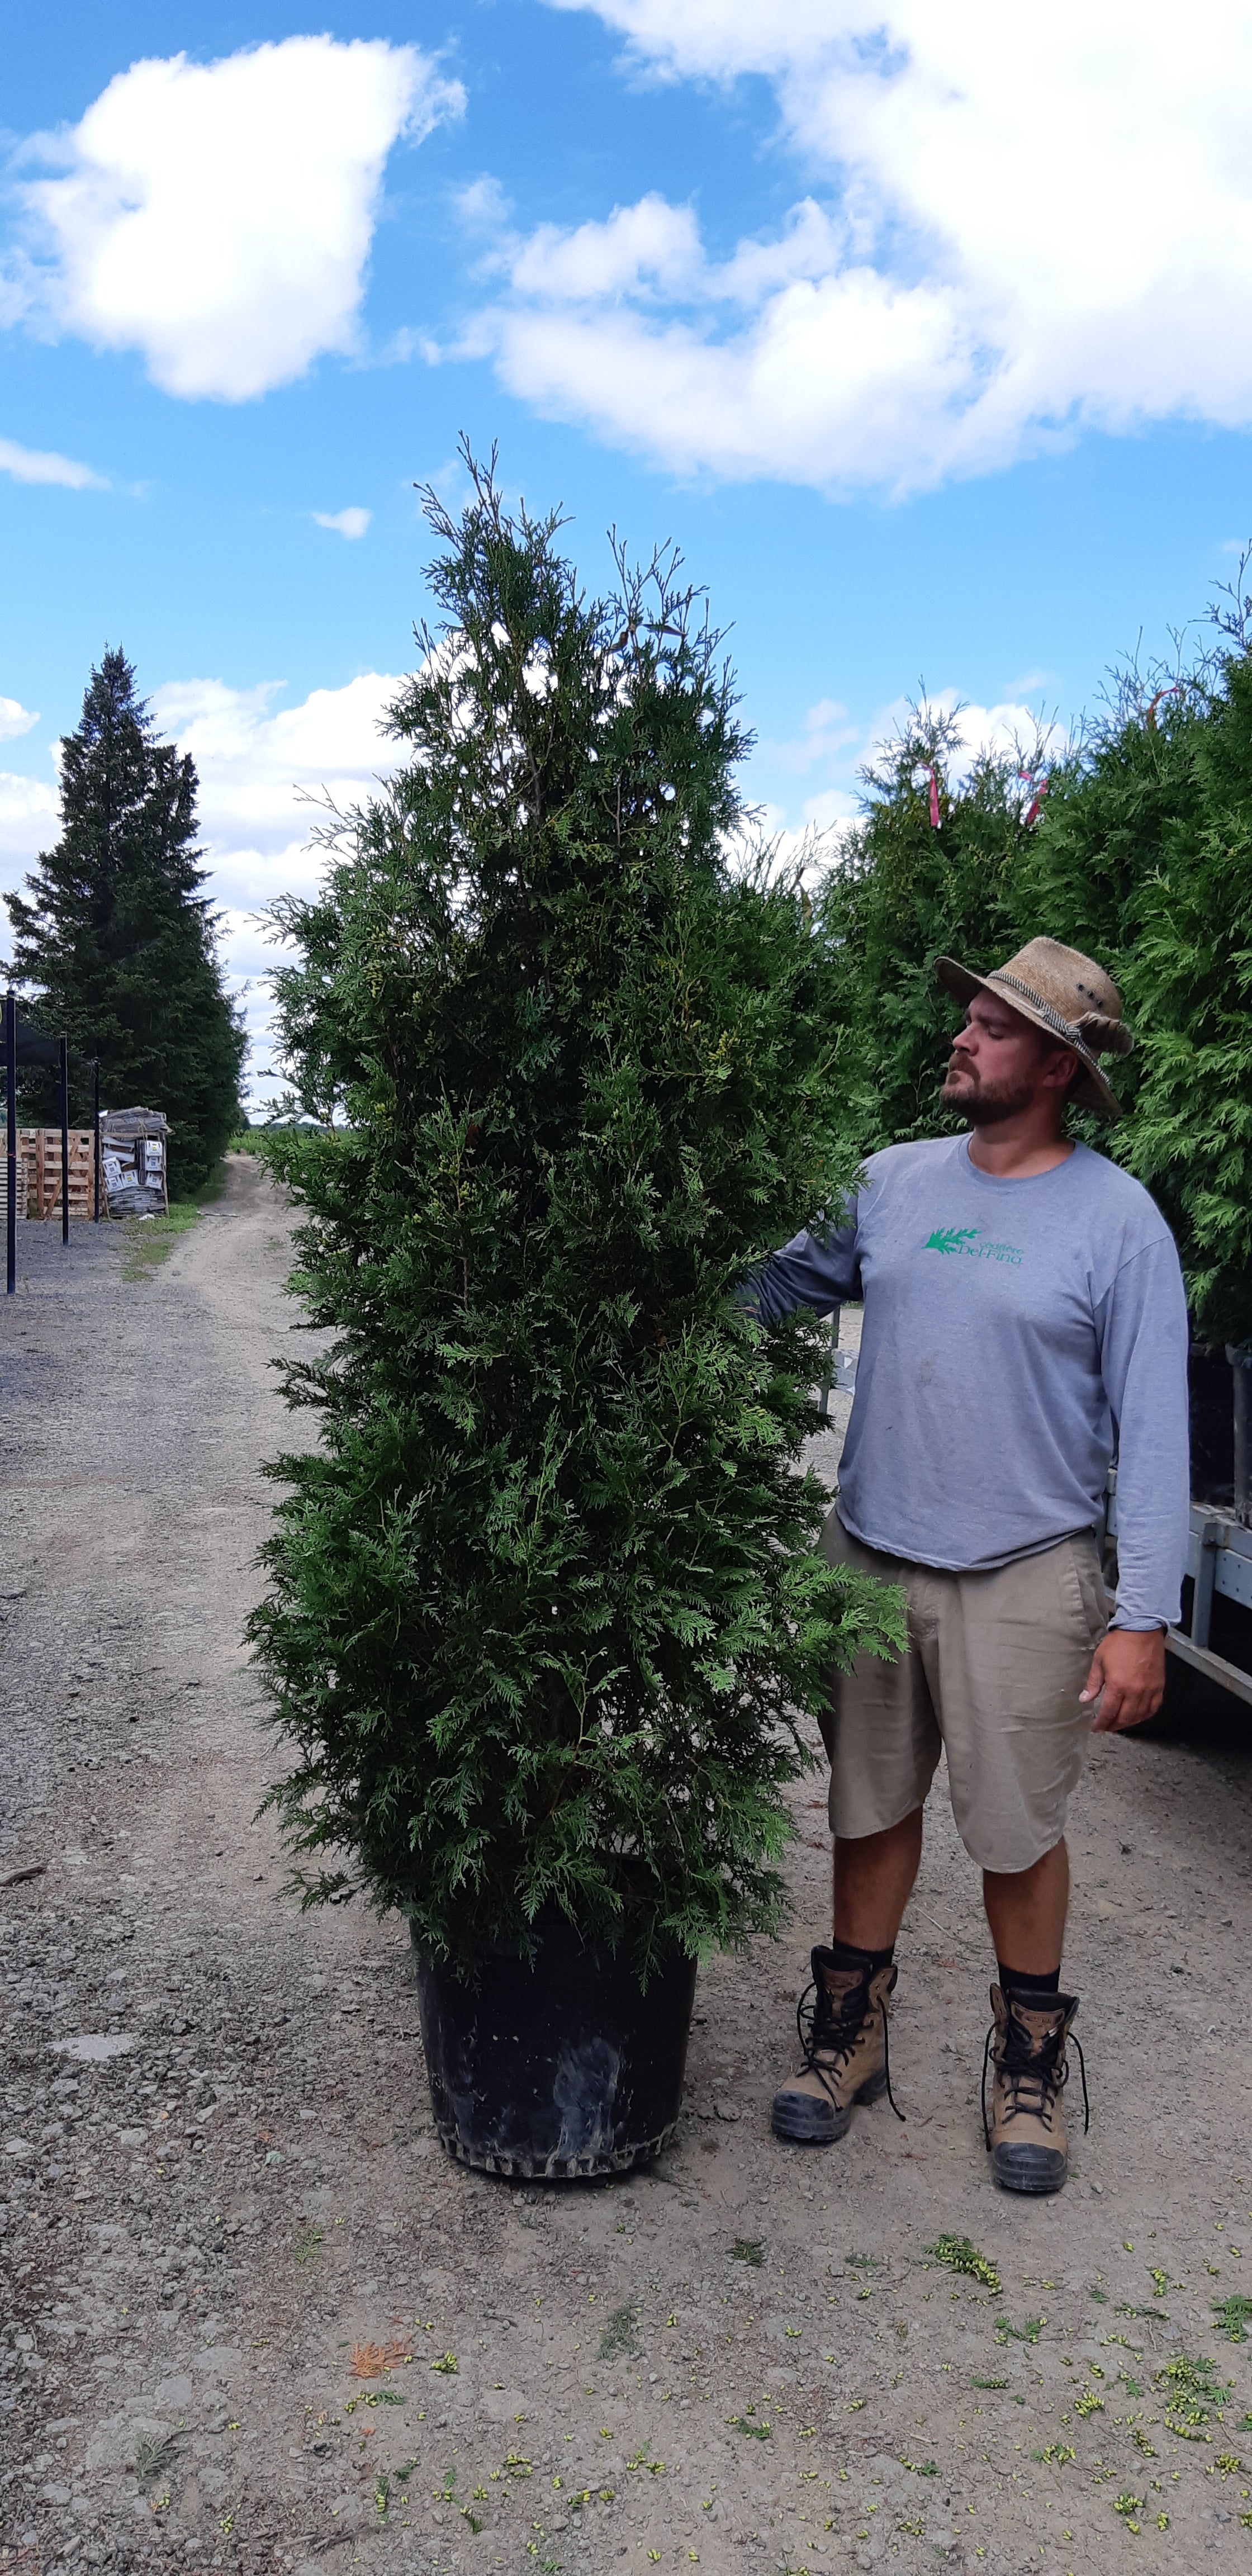

Emerald Cedars (Thuja occidentalis 'Smaragd') are one of the most popular hedging trees for homeowners in Ontario. Known for their dense foliage, rich green color, and year-round privacy, they’re an excellent low-maintenance option for backyards and property lines.
Whether you’re installing a privacy screen or lining a driveway, planting Emerald Cedars correctly is key to ensuring they root well, grow straight, and remain healthy long-term. This step-by-step guide is tailored for Ontario homeowners and covers everything from testing your soil to proper watering after planting.
Step 1: Test Your Soil for Drainage
Before digging, it’s important to understand the drainage conditions in your backyard.
How to perform a basic soil drainage test:
-
Dig a hole about 12 inches wide and 12 inches deep.
-
Fill it with water and allow it to fully drain.
-
Refill the hole again and time how long it takes to drain the second time.
Interpreting results:
-
Under 2 hours: Excellent drainage.
-
2–4 hours: Acceptable drainage.
-
More than 4 hours: Poor drainage. You may need to amend your soil or slightly raise the planting area to improve conditions.
Knowing your drainage conditions helps you plan your watering schedule and ensures your cedars won’t sit in soggy soil.
Step 2: Dig a Proper-Sized Hole
Dig a hole that is slightly wider and slightly deeper than the root ball of your Emerald Cedar.
When placing the cedar into the hole:
-
The top of the root ball should be level with, or just slightly below, ground level.
-
Avoid planting too deep, which can lead to poor drainage and root rot.
Step 3: Add Triple Mix Soil
Place a layer of fresh triple mix (a blend of peat moss, compost, and topsoil) in the bottom of the hole before setting the tree in. This improves soil quality and gives roots immediate access to nutrients and organic matter.
You can also blend in some of your native soil to help ease the transition for the root system.
Step 4: Place the Cedar with Burlap and String Intact
Carefully lower the Emerald Cedar into the hole with the burlap and string still attached. These materials help hold the root structure together and are designed to biodegrade naturally over time. There's no need to remove them—they won't interfere with root growth.
Center the tree and ensure it is standing upright.
Step 5: Add Bone Meal Fertilizer
Before backfilling, sprinkle a small amount of bone meal fertilizer around the root ball. Bone meal is rich in phosphorus, which supports healthy root development during the establishment phase.
Use only a small amount—enough to lightly surround the base of the root zone.
Step 6: Backfill and Straighten
Begin backfilling the hole using a mix of your original soil and leftover triple mix. As you fill:
-
Lightly compact the soil with your hands or foot to eliminate air pockets.
-
Check that the tree is perfectly straight, adjusting as needed.
A straight tree now will save you time and effort later.
Step 7: Final Soil Compaction and Mulching
Once the hole is filled, gently compact the top layer of soil to help stabilize the cedar. If desired, apply a 2-inch layer of mulch around the base of the tree—but keep mulch away from the trunk to avoid excess moisture buildup and rot.
Step 8: Water Immediately and Based on Your Soil Conditions
Water the tree right after planting. This settles the soil and encourages the root system to begin spreading.
Your ongoing watering schedule should be based on the drainage quality you tested earlier:
-
Well-draining soil: Water deeply every 2–3 days during the first few weeks.
-
Moderate drainage: Check the moisture level before watering.
-
Poor drainage: Water less frequently, and avoid saturating the soil.
Refer to our Emerald Cedar Watering Guide for a complete breakdown based on soil type, temperature, and time of year.
Final Tips for Planting Success
-
Space trees 2 to 3 feet apart for a dense hedge.
-
Avoid pruning during the first season—allow the tree to focus on root growth.
-
Only stake trees in windy areas or on sloped terrain.
-
Don’t fertilize again until the following season.
Conclusion
Planting Emerald Cedars correctly from day one makes a lasting difference in how well your trees establish and grow. By testing your soil, using high-quality triple mix, and planting at the correct depth with minimal disruption to the root ball, you’ll give your cedar hedge the best possible start.
Looking for a visual reference? Download our printable Emerald Cedar Planting Infographic for easy-to-follow steps you can bring right to the garden.
If you have questions or need more guidance, reach out—we’re here to help you grow with confidence.